Omnisend - Sending Wishlist Price Drop Emails
Prerequisites
- Wishlist Hero Gold Plus Plan or above
- Omnisend Email Account
- Wishlist Hero-Omnisend integration enabled
How To Implement
1. Enable Wishlist Price Drop Event
Before you get started, you need to make sure you’ve enabled the wishlist price drop event within Wishlist Hero Admin. To confirm, once you’ve logged in to Wishlist Hero Admin, navigate to Settings tab via the top nav. then click on configure button next to "Email reminders for on sale and Low stock wishlisted products" Make sure that it says "Product On Sale email reminder is enabled" and if it is disabled click the Enable Button. Once enabled, Wishlist Hero will send an event to Omnisend each time the price of a product drops below the specified price percentage. The threshold for Wishlisthero-pricedrop event is set to be 10% in the backend even though it can be customized according to requirement. Also, the Wishlist-pricedrop event will get triggered only if the price is reduced by an actual purchase or draft order. 
 There is no time delay built into the integration logic, so expect to see price drop events show up in Omnisend shortly after price drops below the specified threshold.
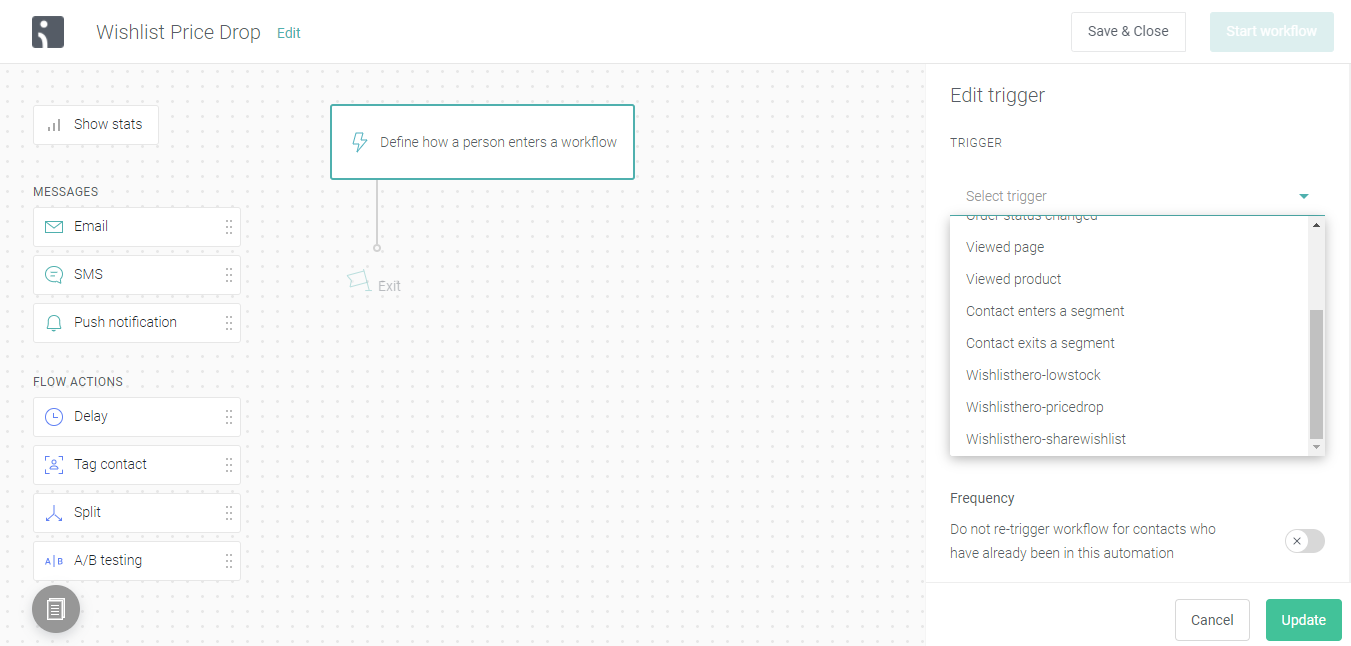
 Next you’ll need to set the trigger for this workflow. Choose "Wishlisthero-pricedrop" from the dropdown on the right.
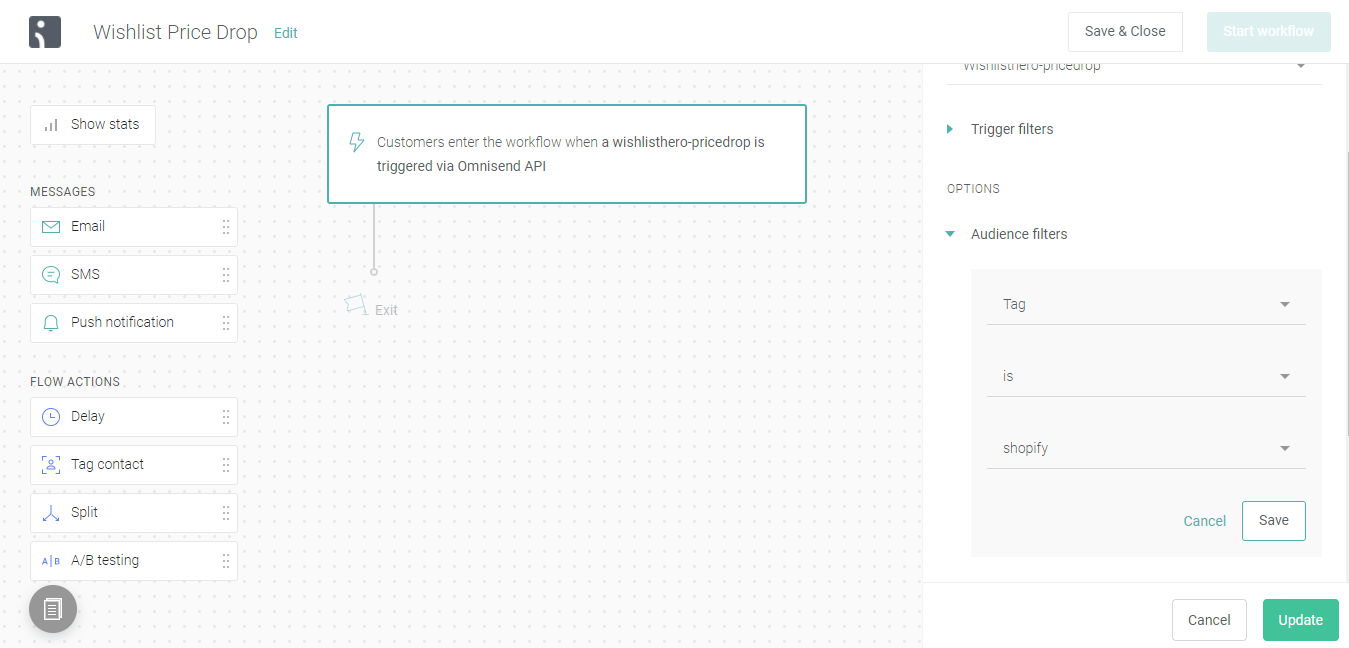
  Tip: if you're not seeing "Wishlisthero-pricedrop" in your dropdown you probably haven't had the price for a product drop below the threshold since enabling this event and the Omnisend integration in Wishlist Hero. Omnisend will not display flow triggers until they've received at least one event. Next, we’re going to add an Audience filter, which we’ll use during development for this workflow. We’ll remove it later once we’re ready to make this workflow live. In this case we added a Tag to our test customer

 There is no time delay built into the integration logic, so expect to see price drop events show up in Omnisend shortly after price drops below the specified threshold.
2. Create Omnisend Automation and Select Trigger
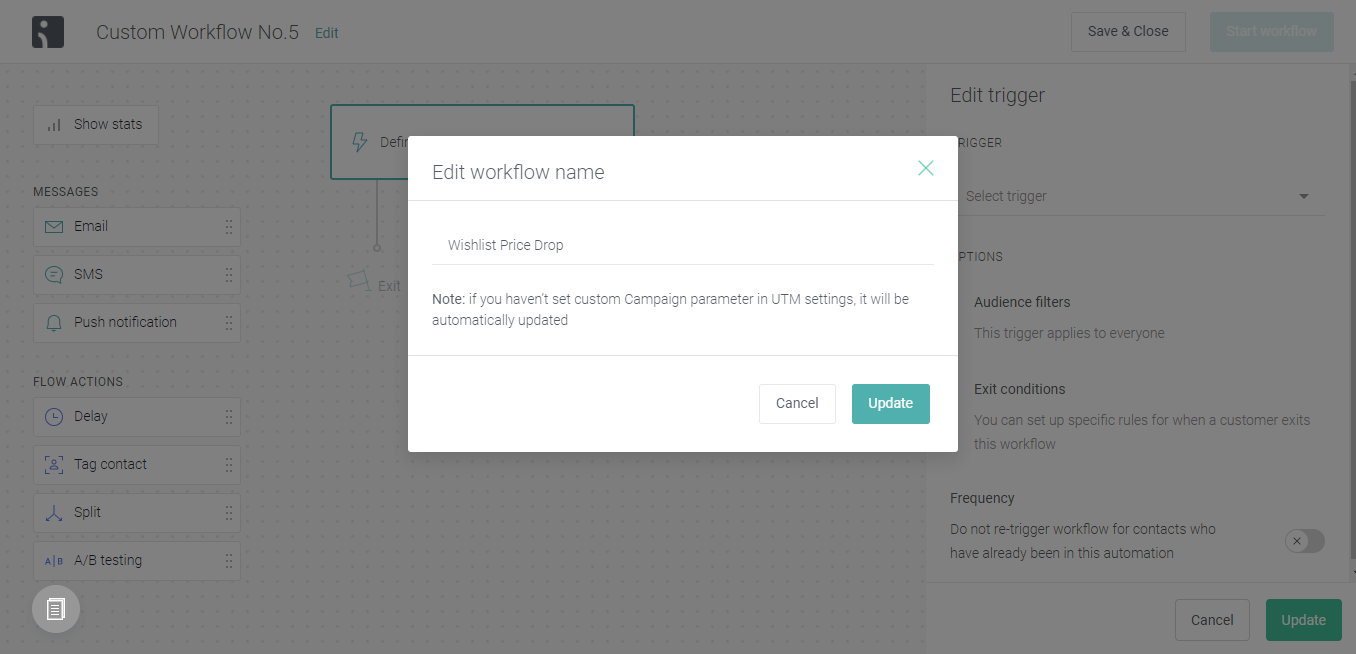
In Omnisend, navigate to the Automations page and select "+ New workflow". In the upper righthand corner click the "Create custom workflow" button. In this example we’re going to call this flow "Wishlist Low Stock". Next you’ll need to set the trigger for this workflow. Choose "Wishlisthero-pricedrop" from the dropdown on the right.
  Tip: if you're not seeing "Wishlisthero-pricedrop" in your dropdown you probably haven't had the price for a product drop below the threshold since enabling this event and the Omnisend integration in Wishlist Hero. Omnisend will not display flow triggers until they've received at least one event. Next, we’re going to add an Audience filter, which we’ll use during development for this workflow. We’ll remove it later once we’re ready to make this workflow live. In this case we added a Tag to our test customer
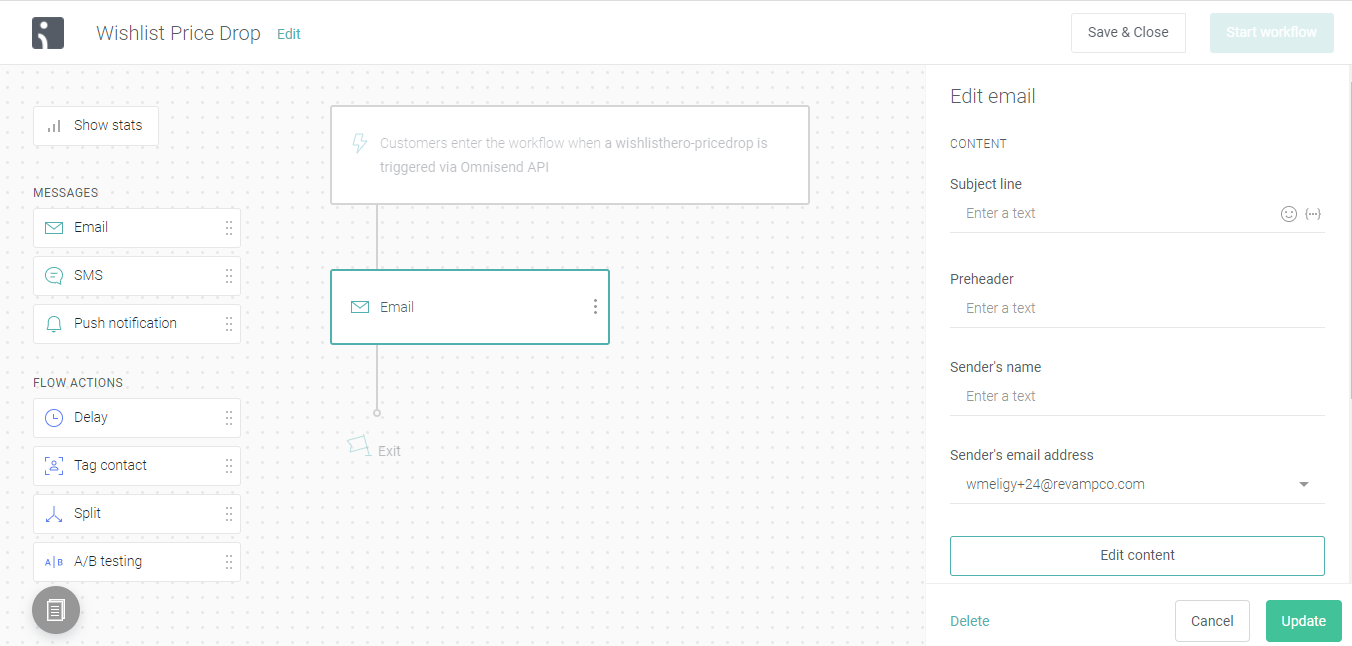
 Because the timing of this event isn’t driven by an action taken by the shopper, there’s no benefit to adding a time delay before the email is sent. Next add an email to your workflow, this is will be your price drop message.
3. Create Your Email Template
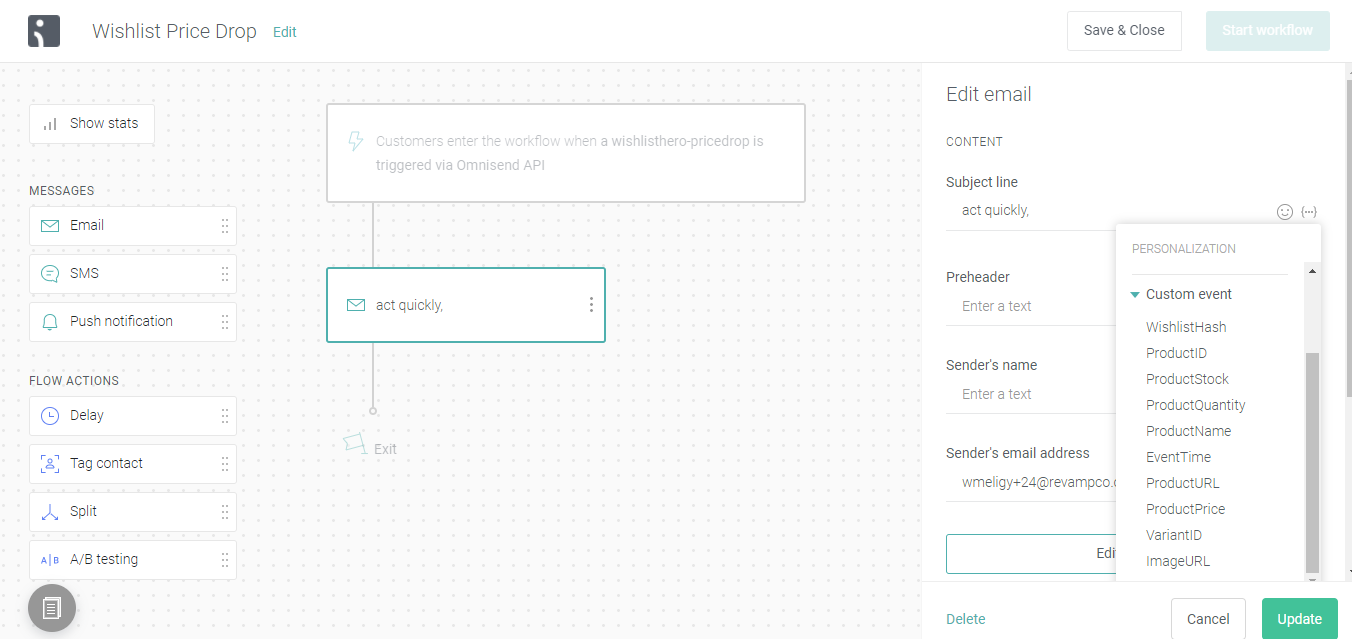
The next thing we’ll do is build an email template that consumes the price drop data passed from Wishlist Hero to create our triggered email campaign.
Here are the event-level data elements included with the event:
| Data Element |
|
|
|
|---|---|---|---|
| Event |
|
|
|
| Event Time |
|
|
|
| Product ID |
|
|
|
| Product Name |
|
|
|
| Price |
|
|
|
| Quantity |
|
|
|
| Stock |
|
|
|
| Variant ID |
|
|
|
| Product URL |
|
|
|
| Image URL |
|
|
Fill out the subject line, preheader, sender’s name and make sure you’re happy with the sender’s email address. Note that you will be able to use data elements from the Wishlisthero-pricedrop event to personalize the subject and preheader text. Then click the "Edit content" button to edit the email.

